White Long Haired Dog: 13 Breeds
After much deliberation about your next pet, you’ve decided on a white long haired dog, large in size. Doesn’t that sound like you’re aiming to
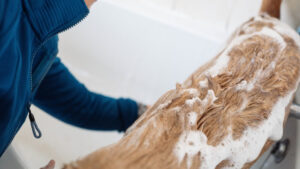
Are you tired of the never-ending battle to dry your beloved furry friend’s hair after bath time? Perhaps you’ve experienced the awkward juggling act of holding the dog hair dryer in one hand while trying to keep your pup calm with the other.
If you can relate, it’s time to take your pet grooming routine to the next level by crafting a DIY stand for your dog hair dryer. In this comprehensive guide, we’ll walk you through the process of creating an affordable and highly effective stand that will revolutionize your dog’s drying experience.
Drying your dog’s hair can be a challenging task, especially if you’re dealing with a wriggly or anxious pup. That’s where a dedicated stand for your dog hair dryer comes to the rescue. A stand offers numerous benefits, including hands-free operation, even airflow, and reduced stress for both you and your furry companion.
By using a stand, you can ensure that your dog’s coat dries evenly, minimizing the risk of damp spots that can lead to skin issues. Additionally, you’ll have both hands available to comfort and soothe your pet during the grooming process, making it a more pleasant experience for them.
Now that you’re convinced of the advantages of a dog hair dryer stand, it’s time to gather the materials and tools you’ll need for this DIY project. The great news is that you won’t require any extravagant or expensive items. Most of the materials can be found at your local hardware store or may even be lying around your home.
To get you started, here’s a list of the materials and tools you’ll need:
Materials:
These materials are readily available at most hardware stores, making this DIY project accessible to pet owners of all skill levels. Additionally, this budget-friendly approach allows you to create a custom dog hair dryer stand without breaking the bank.
Creating a functional and user-friendly design for your dog hair dryer stand is crucial. You’ll want a stand that’s stable, adjustable, and easy to assemble. Consider factors such as the size of your dog, the height you’ll need to position the dryer, and the overall stability of the stand.
One popular design concept is a tripod-style stand made from PVC pipes. PVC is lightweight, readily available, and easy to work with. By designing your stand with adjustable height and angle options, you can customize it to fit the specific needs of your dog and your grooming setup.
Start by sketching a basic design on paper, outlining the dimensions, angles, and connections. Visualizing your stand’s design will help you understand how the components come together.
When designing your stand, keep these considerations in mind:
Once you have your design finalized, it’s time to start building your dog hair dryer stand. This part of the process is where you’ll see your vision come to life. If you’re not familiar with working with PVC pipes, don’t worry—it’s a beginner-friendly material to work with.

Follow these step-by-step instructions to construct your DIY dog hair dryer stand:
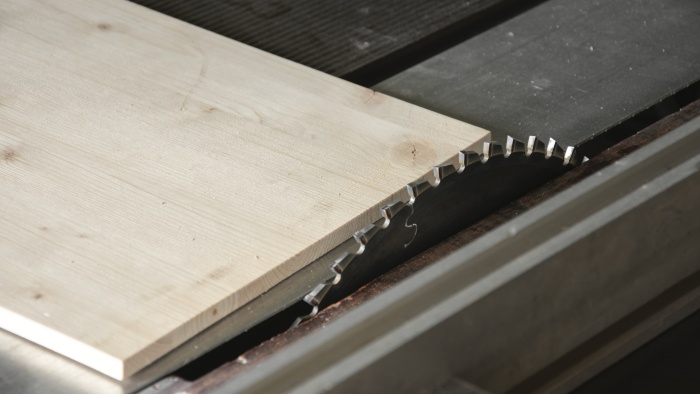
Measure and Cut PVC Pipes:
Assemble the Stand Structure:
Attach the Wooden Base:
Prepare the Dog Hair Dryer Hook:
Attach the Dog Hair Dryer:
Test the Stand:
Make Adjustments (If Necessary):
Finalize and Paint (Optional):
Remember to prioritize safety during the construction process. Wear safety goggles and gloves, especially when working with PVC cement and power tools. Keep the work area well-ventilated.
Before you put your stand into full use, it’s crucial to thoroughly test it for stability and functionality. Testing your stand ensures that it can safely support your dog hair dryer without wobbling or tipping over during use.
During the testing phase, consider factors such as the weight of your dog hair dryer and how securely it attaches to the stand. Ensure that the stand remains steady even when the dryer is operating at full power. You can simulate typical grooming conditions to observe how the stand performs.
It’s also an excellent time to make any necessary adjustments or refinements to the stand. If you find that the stand is not as stable as you’d like, consider reinforcing it with additional support or adjusting the leg lengths for better balance.
Once your stand has passed the testing phase with flying colors, you’re ready to put it into action. Using your newly crafted stand is a breeze, and you’ll wonder how you ever managed without it. Here are some tips for a seamless grooming experience:
Position the Stand:
Adjust the Height and Angle:
Secure the Dog Hair Dryer:
Comfort Your Dog:
Monitor the Drying Process:
Enjoy Stress-Free Grooming:
Maintenance is key to prolonging the life of your stand. Keep an eye on the PVC connections, and if you notice any signs of wear or loosening, make the necessary repairs promptly. Regularly clean and inspect your stand to ensure it remains in top-notch condition.

In conclusion, crafting your own dog hair dryer stand is a rewarding endeavor that will enhance your pet grooming experience in ways you never imagined. This DIY project not only saves you money but also elevates the efficiency and comfort of your grooming routine.
So, don’t wait any longer—gather your materials, follow our step-by-step instructions, and treat your furry companion to a spa-like drying experience with your newly crafted stand.
Say goodbye to the frustration of holding a hair dryer with one hand and trying to calm a squirming dog with the other. With your DIY stand, you’ll have both hands free to ensure your pet’s comfort and style. Bid farewell to soggy fur and hello to a happy, dry, and pampered pup!
By investing your time and effort into creating this DIY dog hair dryer stand, you’re not only simplifying your grooming routine but also strengthening the bond between you and your four-legged friend. Enjoy the convenience, efficiency, and joy of grooming your dog with ease and confidence. Happy grooming!