Drying your dog after a bath is an essential part of the grooming process. But without proper technique, you run the risk of stressing your dog or causing skin irritation and hot spots. That’s where using a high-quality dog hair dryer comes in.
When used correctly, a dog dryer allows you to quickly and gently dry your pup’s coat while avoiding common hazards. In this guide, we’ll walk through the entire dog drying process step-by-step. You’ll learn about:
- Choosing the right dryer for your dog’s needs
- Safely handling and operating the dryer
- Prepping your dog’s coat before drying
- Techniques for efficiently drying different body areas
- Signs of stress to watch for
- Finishing the coat for optimal results
Follow these tips and you’ll be able to dry your dog like a pro groomer in no time! Let’s get started.
Choose the right dog hair dryer
Not all dog dryers are made the same. To safely and effectively dry your pup, you need the right dryer for their specific needs. Keep these factors in mind when selecting a dryer:
Coat type and size
- Small dogs and fine coats require less power. Larger dogs need more airflow and heat.
- Very thick double coats take more time and heat to dry thoroughly.
- Be sure to match the dryer power with the size and coat type of your dog. Too much heat can damage some coats.
Noise level
- High-velocity dryers can produce noise levels over 80 decibels. This can frighten anxious or timid dogs.
- Look for “silent” or low-noise dryers if your dog is easily scared. Some have noise-dampening covers.
Safety features
- Adjustable heat settings allow you to customize the drying temperature. Most dogs require only low to medium heat.
- Diffuser attachments soften the airflow so it’s gentle on your dog’s skin. These are a must!
- Choose a model with air filters to capture shed hair. This also protects the dryer motor.
Prepare your drying area
You’ll need adequate space to maneuver around your dog during the entire drying process. Make sure to:
- Select a low-distraction area, so your dog remains calm.
- Remove rugs or towels; they can get caught in the dryer nozzle.
- Have treats handy to reward good behavior.
- Play calming music if it helps your dog relax.
- Keep styling tools like brushes and combs within reach.
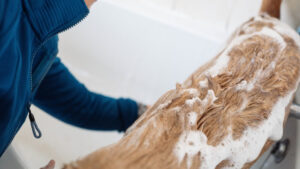
Get your dog ready for drying
Before turning on the dryer, do some prep work to ensure the coat dries evenly. Follow these tips:
- Brush thoroughly before the bath to remove loose hairs. Matted coats won’t dry properly.
- Rinse away all shampoo residue, which can dry brittle if left in the coat.
- Gently squeeze excess moisture from the coat with a towel or squeegee. Don’t rub!
- Separate the hair with your fingers down to the skin. This allows air to circulate.
- Use a hose attachment to blow out any remaining water in the ears and creases.
Now your dog’s coat is prepped and ready for quick, efficient drying!
How to safely operate your dog hair dryer
It’s critical to use your dryer correctly to prevent injury or stress. Keep these safety tips in mind:
- Start on the lowest heat setting, increasing only as needed. Monitor your dog’s comfort level.
- Keep the dryer 6-12 inches from your dog to avoid burning. Never apply direct heat to one spot for too long.
- Use a diffuser attachment at all times. This softens and disperses the airflow.
- Adjust temperature and airflow based on each body part’s sensitivity. Some areas require gentler settings.
- Regularly check the dryer nozzle and filter, clearing any blockages. Obstructions can cause overheating.
- Frequently touch the coat to gauge progress. Avoid over-drying, which can damage hair.
- Reward your dog with treats and praise to associate grooming time with positive reinforcement.
Now let’s walk through the recommended drying technique for each part of your dog’s body.
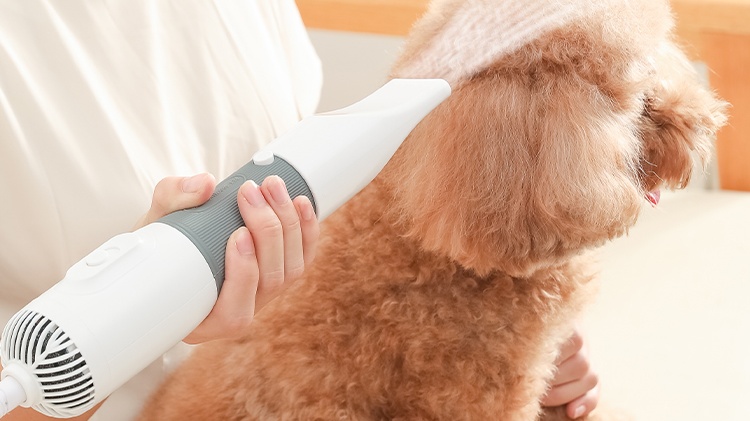
How to dry the body
Use the following tips when drying your dog’s back, sides, and chest areas:
- Start blow drying against the grain of the hair to remove deeply trapped moisture. Always use a diffuser attachment.
- Once the undercoat feels mostly dry, switch to drying with the grain to smooth and straighten the hair.
- Use a medium-low heat setting and keep the dryer moving constantly. Never concentrate on one spot for too long.
- Lift and fully extend any folds of skin to remove moisture where it easily collects. Completely dry skin folds to prevent infection.
- For long-coated breeds, brush periodically as you dry. This helps speed drying time.
Check that the roots feel thoroughly dry by touching down to the skin. The coat may appear dry on top but still be damp underneath.
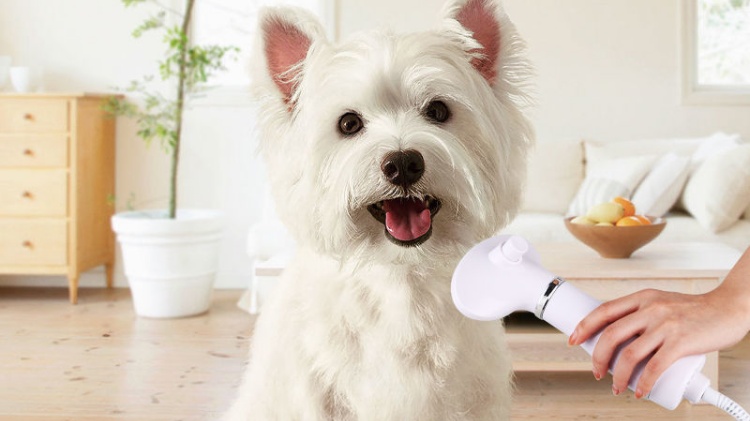
How to dry the head
Drying the head takes extra care. Use low heat and speed to avoid frightening your dog:
- Use only low heat around the head and face. The skin here is delicate.
- Angle the dryer beneath the chin and delicately around facial features. Never blow directly in the eyes, nose or ears.
- To dry the top and back of the head, hold the ears down flat and blow dry against the grain first, then with the grain.
- For breeds with long ears, gently squeeze water out, then sandwich the ears in a towel to absorb moisture before blow drying. Never aim inside the ears.
- Dry inside the ear flaps but avoid going deeper into the ear canal, which can cause damage or infection.
How to dry the legs and paws
The legs, paws, and nails require extra attention:
- Use medium heat and speed settings for the legs, which typically have shorter hair.
- Lift each leg in turn to expose all sides. Make sure to thoroughly dry between the toes, where moisture easily collects.
- For paws, gently spread toes apart with one hand while drying between them at low heat and speed.
- Carefully direct some airflow onto the nails to dry thoroughly. Residual moisture can encourage fungal infections.
- For feathered breeds, use a slicker brush while drying the leg hair. Brush against the grain first, then back down into place.
How to dry the belly and groin
The belly and groin areas are sensitive and require low, gentle heat:
- Use only the lowest heat setting in these areas to avoid burning delicate skin.
- Part the coat with your fingers down to the skin to ensure airflow penetrates.
- Lift the rear legs to fully expose and dry the groin area. Don’t miss this moisture-prone spot.
- For male dogs, carefully lift the sheath and dry the area beneath to prevent irritation.
- For females, lift their tail and thoroughly dry around the vulva opening.
How to dry the tail
The thick tail coat needs proper technique:
- Use medium heat and a high-speed setting to penetrate the dense fur.
- Hold the base of the tail gently but firmly while drying. Have someone assist you if necessary.
- Pull longer fur aside to expose the tail skin and ensure it’s fully dry.
- For breeds with feathered tails, use a slicker brush while drying to smooth out the coat.
Finishing touches
You’re almost done! Finish up the drying with these tips:
- Go over the entire coat once more, checking for any slightly damp spots. Fully dry those.
- Lower the heat setting and do a final once-over to cool down the coat.
- Use a finishing spray or cream and work through the coat to restore moisture and shine.
- For long coats, use a pin brush and/or steel comb to neatly smooth the finished coat.
Signs of dryer stress in dogs
While drying, watch for these signs of anxiety or stress:
- Shaking, whining, or trying to pull away
- Excessive panting or drooling
- Eyes widened, ears back
- Lip licking or yawning
If you notice any signs of stress, take a break! Turn off the dryer, comfort your dog, take a short walk, and try again later in short intervals with treats and praise.
Conclusion
In conclusion, using a dog hair dryer can be a game-changer for your pet grooming routine. Not only does it speed up the drying process, but it also helps to achieve a smoother and more professional-looking coat.
However, it is crucial to prioritize your pet’s safety and comfort during the process. Always start with a low heat setting and gradually increase it as needed, while constantly monitoring your pet’s reaction.
Be sure to keep the dryer at a safe distance and move it around to prevent overheating in any particular area. Regular maintenance and cleaning of the dryer will ensure its longevity and optimal performance.
By following the step-by-step guide provided, you can confidently use a dog hair dryer to keep your furry friend looking and feeling their best.
Remember, patience and positive reinforcement go a long way in making the grooming experience enjoyable for both you and your pet.