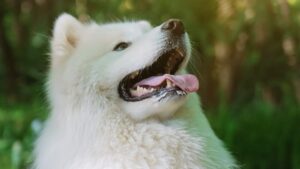
White Long Haired Dog: 13 Breeds
After much deliberation about your next pet, you’ve decided on a white long haired dog, large in size. Doesn’t that sound like you’re aiming to
A dog hair dryer is an essential tool for pet owners and professional groomers alike, providing a quick and efficient way to dry a dog’s coat after a bath.
However, just like any other tool, a dog hair dryer requires regular maintenance and cleaning to ensure its optimal performance and longevity. Proper care of your dog’s hair dryer not only helps to keep it in good working condition but also ensures the safety and health of your pet during the grooming process.
In this blog post, we will explore the essential steps and best practices for maintaining and cleaning your dog’s hair dryer. From cleaning the filter and checking for any signs of wear and tear to storing the dryer properly when not in use, we will cover all the necessary aspects to keep your dryer functioning smoothly.
By following these simple yet effective tips, you can enjoy a hassle-free grooming experience and keep your furry friend looking and feeling their best.
So, let’s get started on the journey to a clean and well-maintained dog hair dryer!
Like any frequently used tool, a dog dryer needs proper maintenance to avoid issues down the road. Clogged vents, dirty filters, and grimy motor parts can make your dryer far less efficient at drying your dog’s coat.
Worse yet, build-up inside the dryer can cause overheating hazards or electrical malfunctions. That’s why a consistent cleaning routine is just as important as choosing a quality dryer to begin with.
We’ll explain:
Follow these tips, and you can keep your dog dryer hygienic and functioning like new for years of grooming sessions.
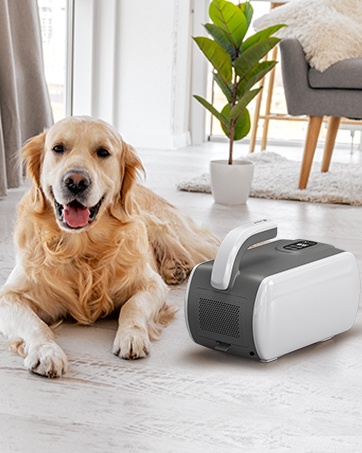
For average use grooming one or two dogs, aim for:
For frequent professional use on multiple dogs, increase cleaning frequency accordingly. Daily exterior wipe-downs may be needed. Adhere to your dryer manual guidelines.
Signs it’s time for a cleaning include weaker airflow, loud operation, or overheating. Don’t wait until it stops working entirely!
Before cleaning, gather the following:
Avoid wetting the dryer excessively or using harsh chemicals. With the right gentle cleaning implements, you can remove built-up dirt without damaging components.
For exterior surfaces, regular cleaning prevents dirt buildup:
Thorough exterior cleaning takes just 10-15 minutes and ensures your dryer looks like new.
A dirty filter impedes airflow:
Regular filter cleaning every few uses maintains peak performance.
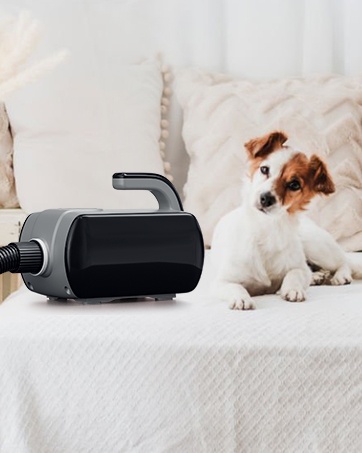
It’s also important to clean nozzle attachments like diffusers:
Repeat nozzle cleaning whenever you see dirt buildup affecting airflow.
For deeper internal cleaning:
Thorough internal motor cleaning every few months reduces the risk of overheating while maximizing airflow.
To kill germs and prevent disease spread:
Proper disinfecting should be done at least monthly when using the dryer on multiple dogs. This prevents the spread of parasites and skin infections.
When not in use, store your dog dryer:
Proper storage keeps your dryer in top condition between uses.
See a professional if your dryer:
Avoid DIY repairs to electrical components. Professionals can safely diagnose issues and recommend repair options.
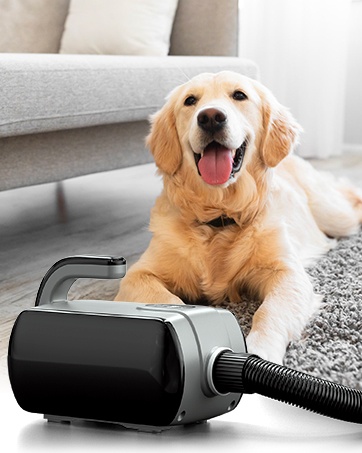
In conclusion, maintaining and cleaning your dog’s hair dryer is a crucial aspect of ensuring its longevity and optimal performance. A well-maintained dryer not only provides a more efficient grooming experience but also ensures the safety and health of your furry friend.
Regular cleaning of the filter, checking for any signs of wear and tear, and proper storage are all essential steps in keeping your dryer in top condition.
Moreover, it is important to follow the manufacturer’s instructions and guidelines when cleaning and maintaining your dryer. This will help you avoid any potential damage to the dryer and ensure that you are taking the right steps to keep it functioning smoothly.
Additionally, always make sure that the dryer is unplugged and completely cool before attempting to clean or maintain it.
In summary, a clean and well-maintained dog hair dryer is an invaluable tool for any pet owner or professional groomer. By following the tips and best practices outlined in this blog post, you can enjoy a hassle-free grooming experience and keep your furry friend looking and feeling their best.
So, take the time to properly care for your dryer, and it will serve you and your pet well for years to come.
Remember, a little maintenance goes a long way in ensuring the longevity and performance of your dog’s hair dryer.


After much deliberation about your next pet, you’ve decided on a white long haired dog, large in size. Doesn’t that sound like you’re aiming to
When it comes to the question, “Is Dawn dish soap safe for dogs?” it’s crucial to choose a wash that’s both harmless and effective. While
Beginning your Cavoodle grooming guide early is key for a successful experience. Breeders typically start grooming practices when puppies are about two weeks old. This
Are you a proud pet owner looking for the best grooming equipment to keep your furry friend looking and feeling their best? Look no further
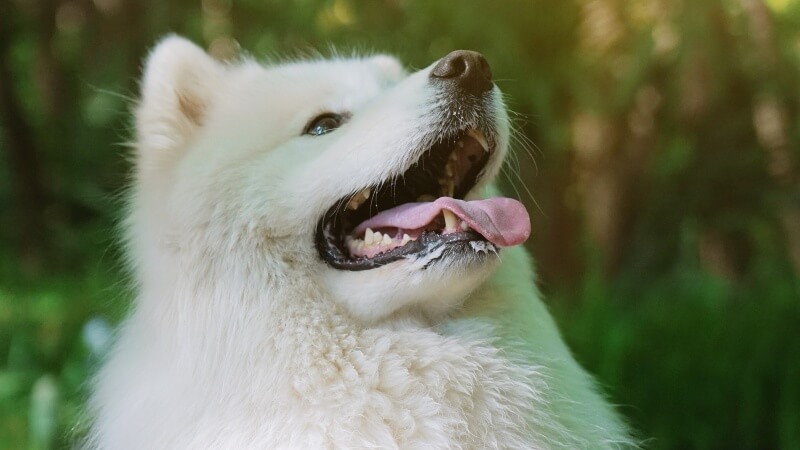
After much deliberation about your next pet, you’ve decided on a white long haired dog, large in size. Doesn’t that sound like you’re aiming to
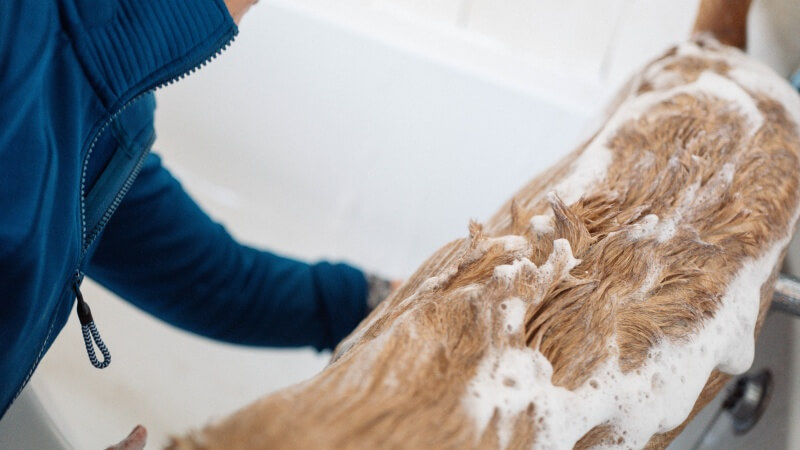
When it comes to the question, “Is Dawn dish soap safe for dogs?” it’s crucial to choose a wash that’s both harmless and effective. While
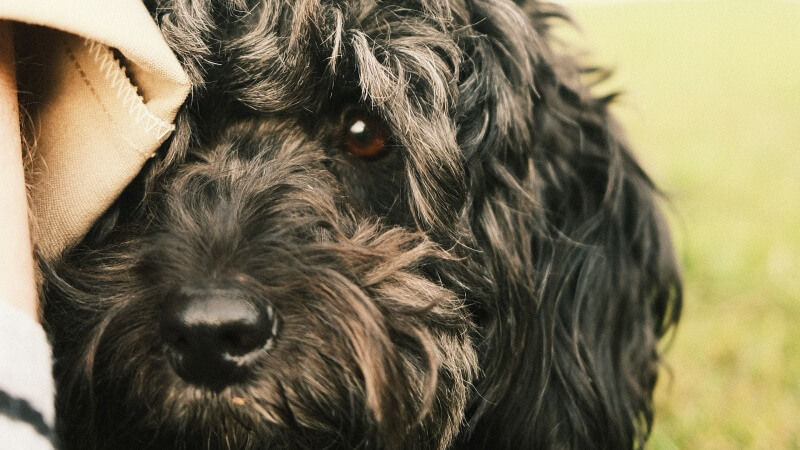
Beginning your Cavoodle grooming guide early is key for a successful experience. Breeders typically start grooming practices when puppies are about two weeks old. This
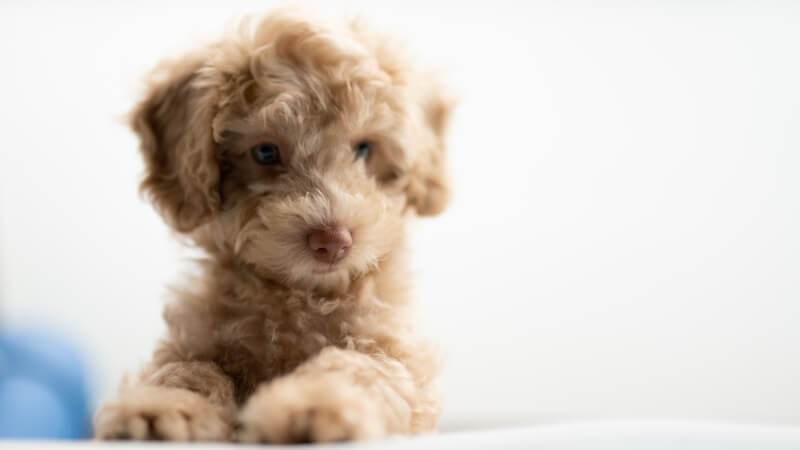
Are you a proud pet owner looking for the best grooming equipment to keep your furry friend looking and feeling their best? Look no further
Copyright © 2024 puppyhairdryer. All Rights Reserved.