In the world of pet grooming, a reliable dog hair dryer is a must-have. But what if you could make your own, adding a personal touch to your pet’s spa day? Get ready to embark on a tail-wagging adventure as we guide you through crafting your very own DIY dog hair dryer.
Materials preparation
Creating your DIY dog hair dryer requires a selection of tools and materials. Here’s a closer look at what you’ll need:
To embark on your DIY dog hair dryer project, you’ll need:
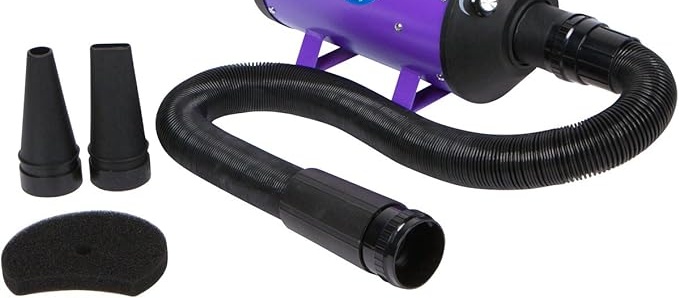
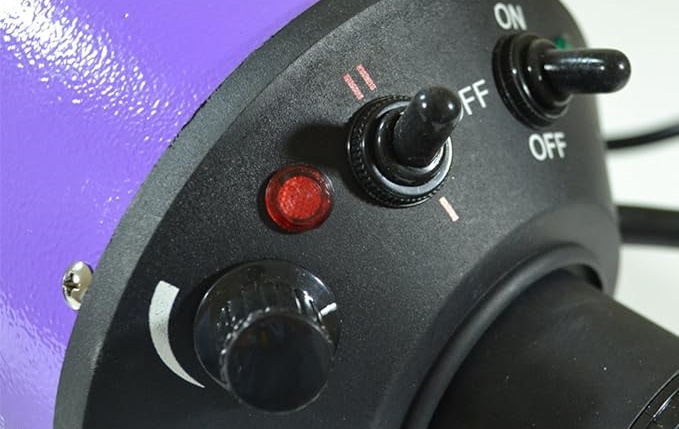
- Hair Dryer Base: This is the heart of your project. Choose a reliable hair dryer with adjustable settings for temperature and airflow. Make sure it’s suitable for pet use.
- Hose and Nozzle: You’ll need a flexible hose and a nozzle attachment. These will direct the airflow where you need it most during grooming.
- Duct Tape: A sturdy, pet-safe duct tape will help you secure the hose to the hair dryer and create a seal.
- Pet-Friendly Materials: Opt for materials that are safe for your pet. Consider using non-toxic paints or decorations if you want to customize the dryer’s appearance.
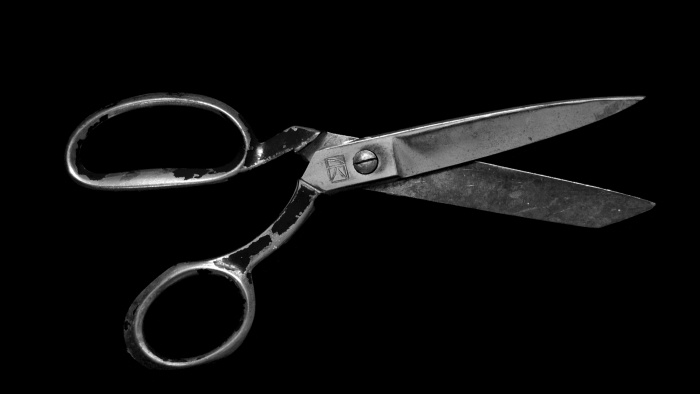
- Scissors and Screwdriver: Basic tools like scissors and a screwdriver will come in handy during assembly.
- Ventilation Holes: Ensure proper ventilation for the hair dryer to prevent overheating. You’ll need to create holes or openings in the housing.
Remember, safety is paramount when selecting materials. Choose items that are non-toxic, heat-resistant, and appropriate for pet use. Now that you have your DIY dog hair dryer toolkit ready, it’s time to move on to the crafting process.
Crafting steps
Now, let’s roll up our sleeves and follow these steps to create your custom DIY dog hair dryer:
Step 1 – designing your dryer
In the first step of crafting your DIY dog hair dryer, you get to unleash your creativity. Designing your dryer allows you to add a personal touch and tailor it to your pet’s preferences. Consider the following aspects:
- Color Scheme: Choose colors that your pet finds appealing. This can make the grooming experience more enjoyable for them.
- Decorations: If you’re feeling artistic, consider adding decorative elements like paw prints, bones, or your pet’s name using pet-safe paints or stickers.
- Ergonomics: Think about the shape and size of the dryer to ensure it’s comfortable to hold during grooming sessions.
- Practicality: Ensure that the hose and nozzle attachments are securely connected to the dryer for efficient airflow.
Remember that your pet’s comfort and safety should be your top priorities when designing your DIY dog hair dryer.
Step 2 – assembling the components
With your design in mind, it’s time to assemble the necessary components for your DIY dog hair dryer. Follow these steps carefully to ensure a smooth construction process:
- Attach the Hose: Use duct tape to securely attach the flexible hose to the hair dryer’s nozzle. Ensure a snug fit to prevent air leaks.
- Create Ventilation: Using your scissors or a drill, create ventilation holes or openings in the housing of the dryer. Proper ventilation is crucial to prevent overheating.
- Decorate: Apply your chosen decorations to the dryer’s surface. Be creative and have fun personalizing it for your furry friend.
- Test for Safety: Before using the dryer on your pet, perform a safety test to ensure there are no loose parts or hazards.
Crafting your DIY dog hair dryer is not only a practical endeavor but also an opportunity to showcase your creativity. As you move through the assembly process, keep an eye on safety and functionality.
Step 3 – wiring and safety
As you proceed with your DIY dog hair dryer project, it’s essential to address wiring and safety considerations. Here’s what you need to know:
- Electrical Wiring: Ensure that all electrical wiring within the hair dryer is secure and correctly connected. If you’re uncertain, consult an electrician or someone experienced in electrical work.
- Grounding: Verify that the hair dryer is properly grounded to prevent electrical hazards.
- Safety Switch: Consider adding a safety switch or button that allows you to turn off the dryer quickly in case of any issues.
- Heat Resistance: Double-check that all materials used can withstand the heat generated by the hair dryer during operation.
Safety should be a top priority when working on the electrical aspects of your DIY dog hair dryer. If you’re not experienced with wiring, it’s advisable to seek professional assistance or guidance.
Safety considerations
Before you power up your creation, let’s discuss essential safety considerations:
Paws and preventive measures
When using your DIY dog hair dryer, safety measures are paramount:
- Supervision: Always supervise your pet during grooming sessions with the DIY dog hair dryer to ensure their safety.
- Distance: Maintain an appropriate distance between the dryer nozzle and your pet to prevent overheating or discomfort.
- Check for Allergies: Be aware of any allergies or sensitivities your pet may have to materials used in the dryer’s construction.
- Monitor Temperature: Regularly check the dryer’s temperature to prevent it from becoming too hot.
- Noise Levels: Consider your pet’s tolerance for noise. Some dogs may be sensitive to the sound of the dryer.
By taking these preventive measures, you can ensure that your pet’s grooming experience with your DIY dog hair dryer is safe and comfortable.
Maintenance and monitoring
To keep your DIY dog hair dryer in top-notch condition and ensure safety, follow these maintenance and monitoring guidelines:
- Regular Checks: Periodically inspect the dryer for loose parts, damage, or signs of wear. Address any issues promptly.
- Cleanliness: Keep the dryer clean to prevent dust or debris buildup, which can affect its performance.
- Store Properly: Store your DIY dog hair dryer in a dry, safe place, away from moisture or potential hazards.
- Safety Tests: Perform safety tests before each grooming session to ensure the dryer functions as expected.
By incorporating these practices into your pet grooming routine, you’ll ensure the safety and reliability of your DIY dog hair dryer.
Applying your DIY dog hair dryer
Now that you’ve crafted your custom dog hair dryer, let’s explore how to use it effectively:
A tail-wagging experience
Your DIY dog hair dryer can enhance your pet’s grooming experience in various ways:
- Efficient Drying: The adjustable settings on your dryer allow you to cater to your pet’s specific needs. Use lower heat and airflow settings for sensitive areas or smaller pets and higher settings for larger breeds or thicker coats.
- Custom Comfort: Your personalized design and thoughtful ergonomics can make the grooming process more comfortable for both you and your pet.
- Bonding Time: Grooming with your DIY dog hair dryer provides an excellent opportunity for bonding with your furry friend.
Pro tips for pet pampering
To make the most of your DIY dog hair dryer, consider these expert tips:
- Pre-Grooming Prep: Before using the dryer, pat your pet’s coat with a microfiber towel to remove excess moisture. This will reduce drying time and minimize the risk of overheating.
- Proper Distancing: Maintain a safe and comfortable distance between the dryer nozzle and your pet’s fur. Hold the dryer at an angle to avoid direct heat contact.
- Positive Reinforcement: Use treats and positive reinforcement to reward your pet during grooming sessions, making it a positive experience.
- Regular Breaks: Take breaks during grooming to allow your pet to relax and prevent any stress or discomfort.
By following these pro tips, you can ensure that your DIY dog hair dryer not only serves its purpose but also enhances the well-being of your pet.
Conclusion
In conclusion, crafting your own DIY dog hair dryer is a rewarding endeavor that allows you to combine creativity and practicality. By following the steps outlined in this guide and prioritizing safety, you can create a personalized grooming tool that your pet will appreciate.
So, grab your DIY toolkit, let your imagination run wild, and create a DIY dog hair dryer that both you and your furry friend will love. It’s a fun project that adds an extra layer of care to your pet’s grooming routine. Enjoy the process, and may your pet’s tails keep wagging!